Quick answer
Production-ready acrylic artwork identifies the final size, cut line, print layers, viewing side, hole or fixing positions and any variable data. Vector files are preferred for logos and line work, while linked images should be supplied at an appropriate resolution for the finished size.
Separate the design instructions
Do not rely on a visual mockup alone. Label the cut contour, print areas, engraving, white underprint, holes and assembly positions so that design intent is not lost between artwork review and factory production.
Confirm viewing direction and transparency
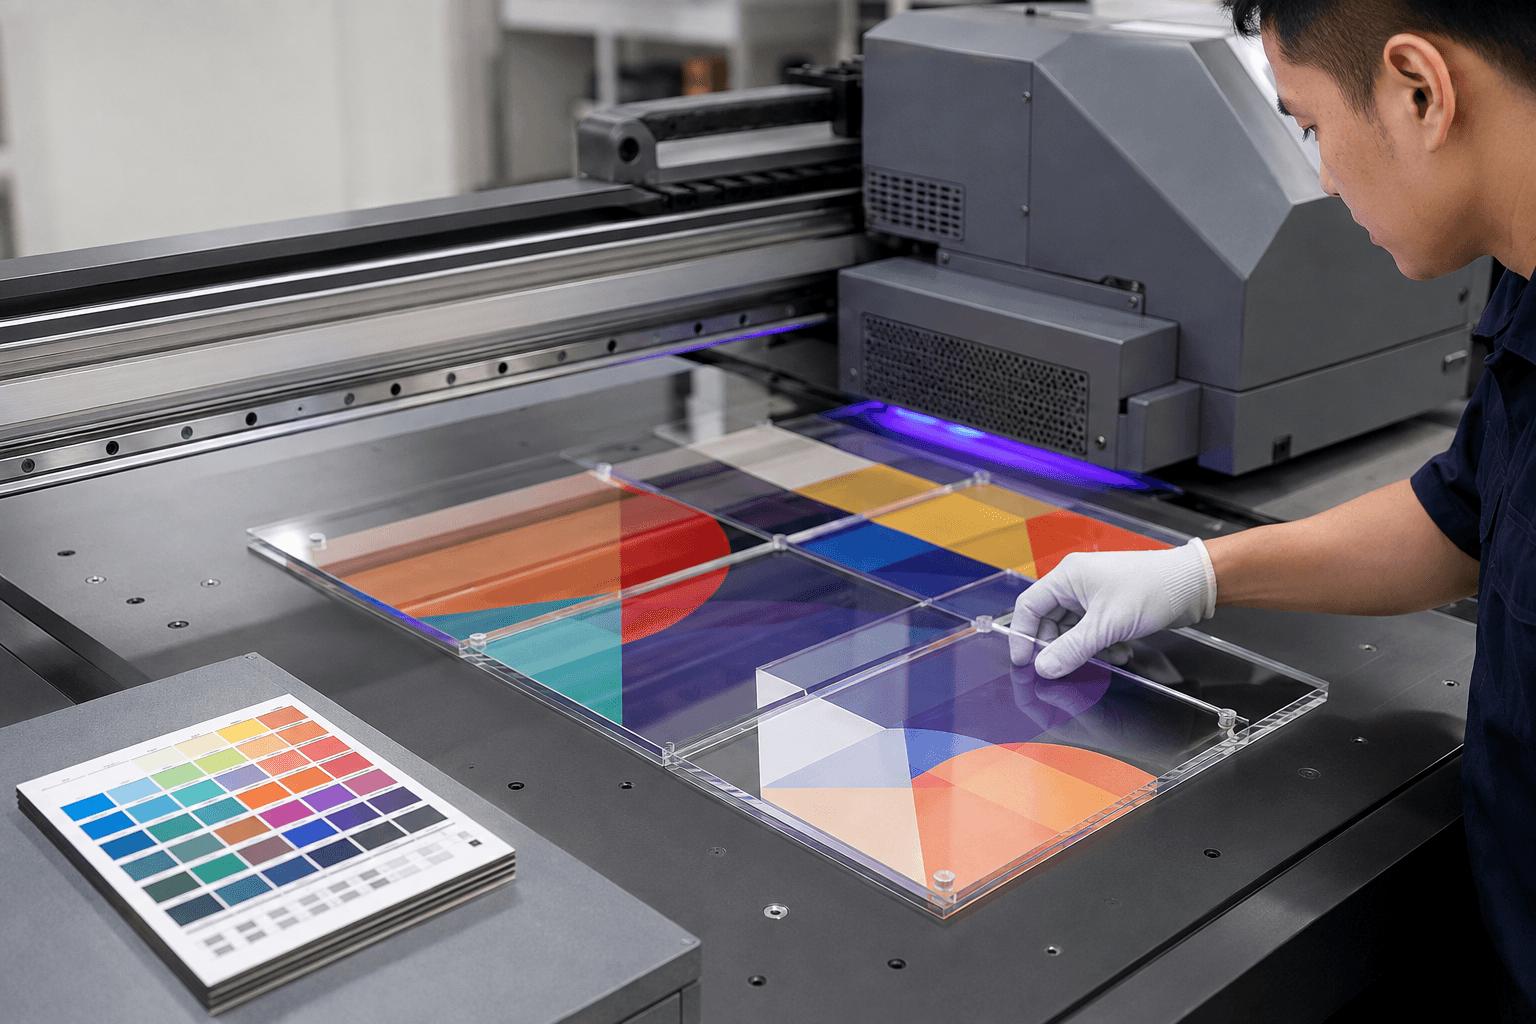
Clear acrylic can reveal a reverse print layer, adhesive edge or back-side artwork. State which face will be viewed and whether the design is meant to be seen through the material, then review a proof before sampling.
Build a revision control step
Use one approved source file, a named revision and a written proof sign-off. This makes customer requirements traceable during production and reduces last-minute uncertainty when several logos or personalised versions are involved.
Production and delivery checks
Before production, agree the artwork revision, material, finished dimensions, decoration, packing and the conditions that matter to the product application. During production, factory testing should focus on the approved sample and measurable customer requirements. Before dispatch, shipment inspection should confirm finished quality, packing count, protective materials and the readiness of each carton for its next handling stage.
Conclusion
A practical brief, a documented sample and a defined inspection plan give a custom acrylic project a stronger basis for cost, quality and delivery decisions. Share the details that affect the product in use, then keep the approved record available for future orders and programme updates.